Drones · finished
FPV Drone Build
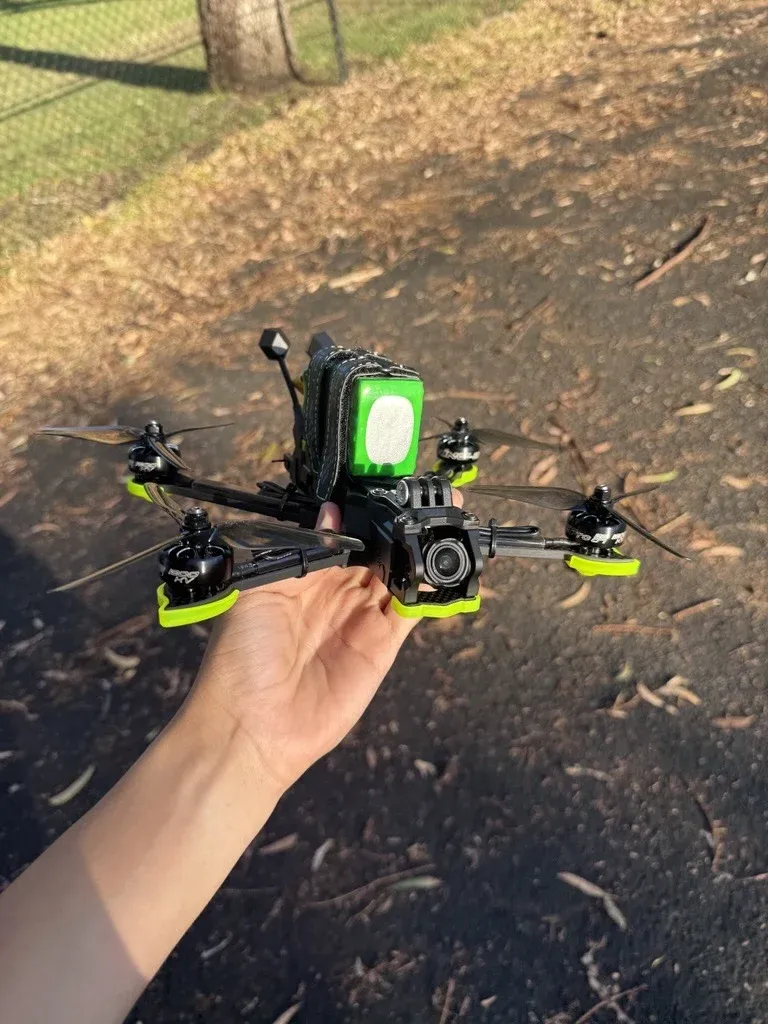
I built a first-person-view drone from individually chosen parts, rebuilt a DJI Avata with bigger motors and a carbon fibre frame, and modified the radio I fly them with.
How I built it
The steps, in the order they happened.
01 Parts
Choosing every part myself
Instead of buying a ready-to-fly drone, I picked each part myself, from the carbon fibre frame and motors to the flight controller, camera, video transmitter and radio receiver.
02 Build
Assembly and soldering
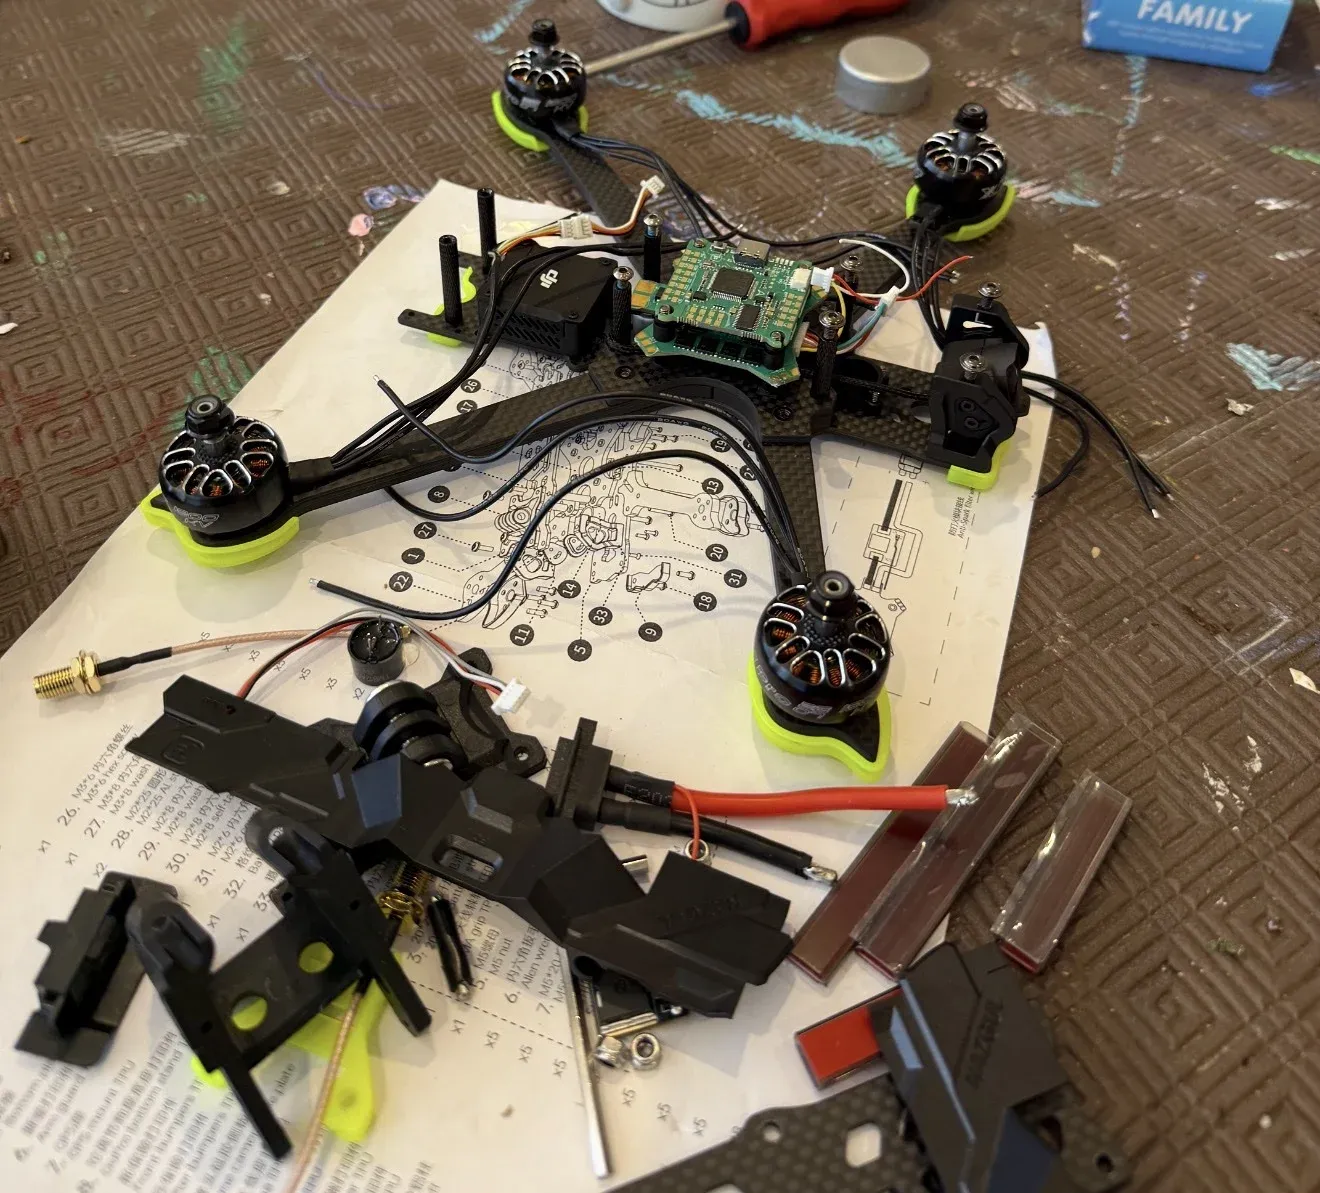
I built the frame, mounted the motors and soldered all the electronics together, including the power wiring and the flight controller stack.
03 Setup
Making it fly
I configured the flight controller, bound the receiver to my radio and tuned it until it flew the way I wanted.
The build, the Avata and the controller
01
Mid-build
Every part was chosen and fitted by me. Building it from parts means I understand every wire on it, and I can repair anything that breaks instead of replacing the whole drone.
02
Finished
This is the finished drone, tuned and flying.
03
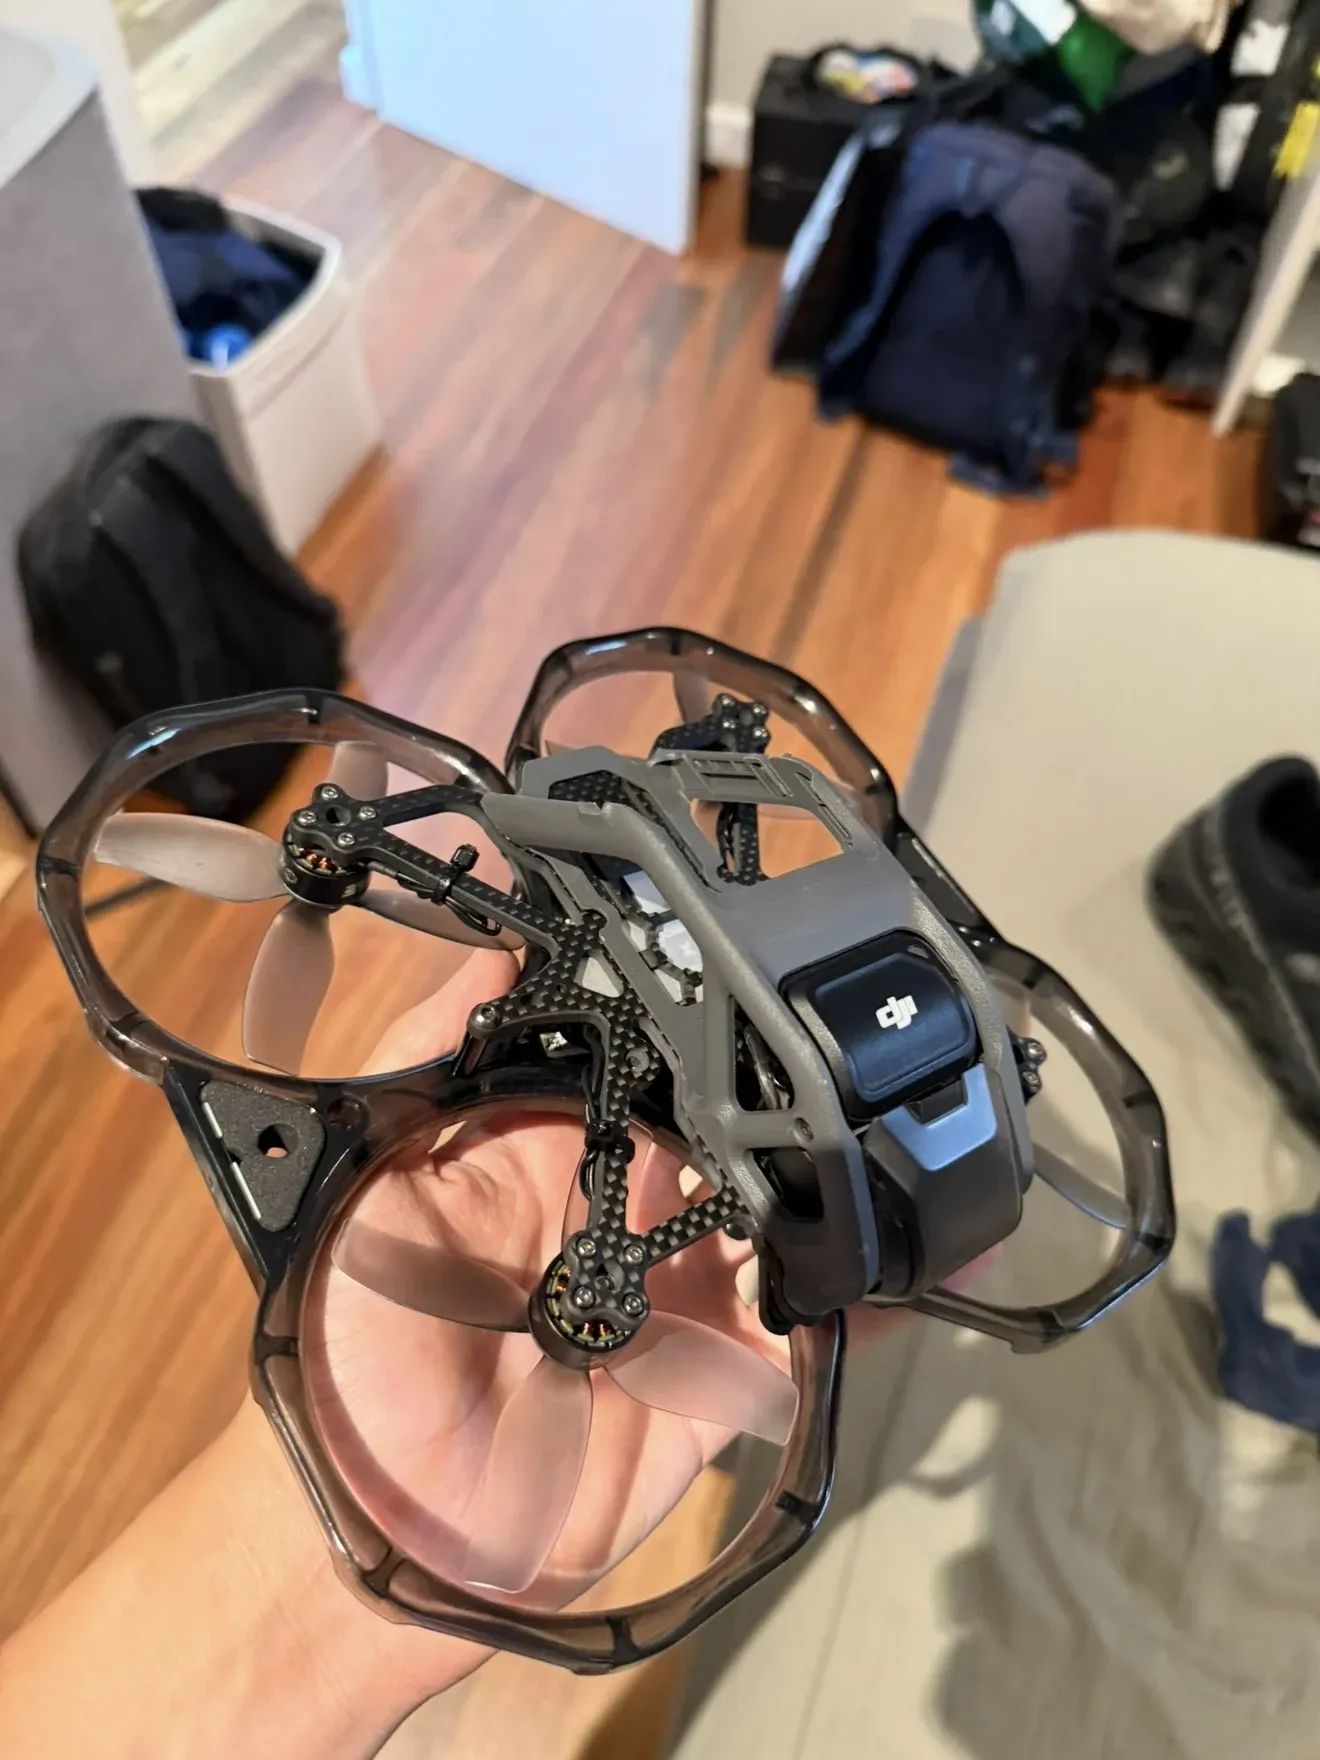
A modified DJI Avata
I also took a standard DJI Avata and rebuilt it with bigger motors for more power and a carbon fibre frame in place of the original.
04
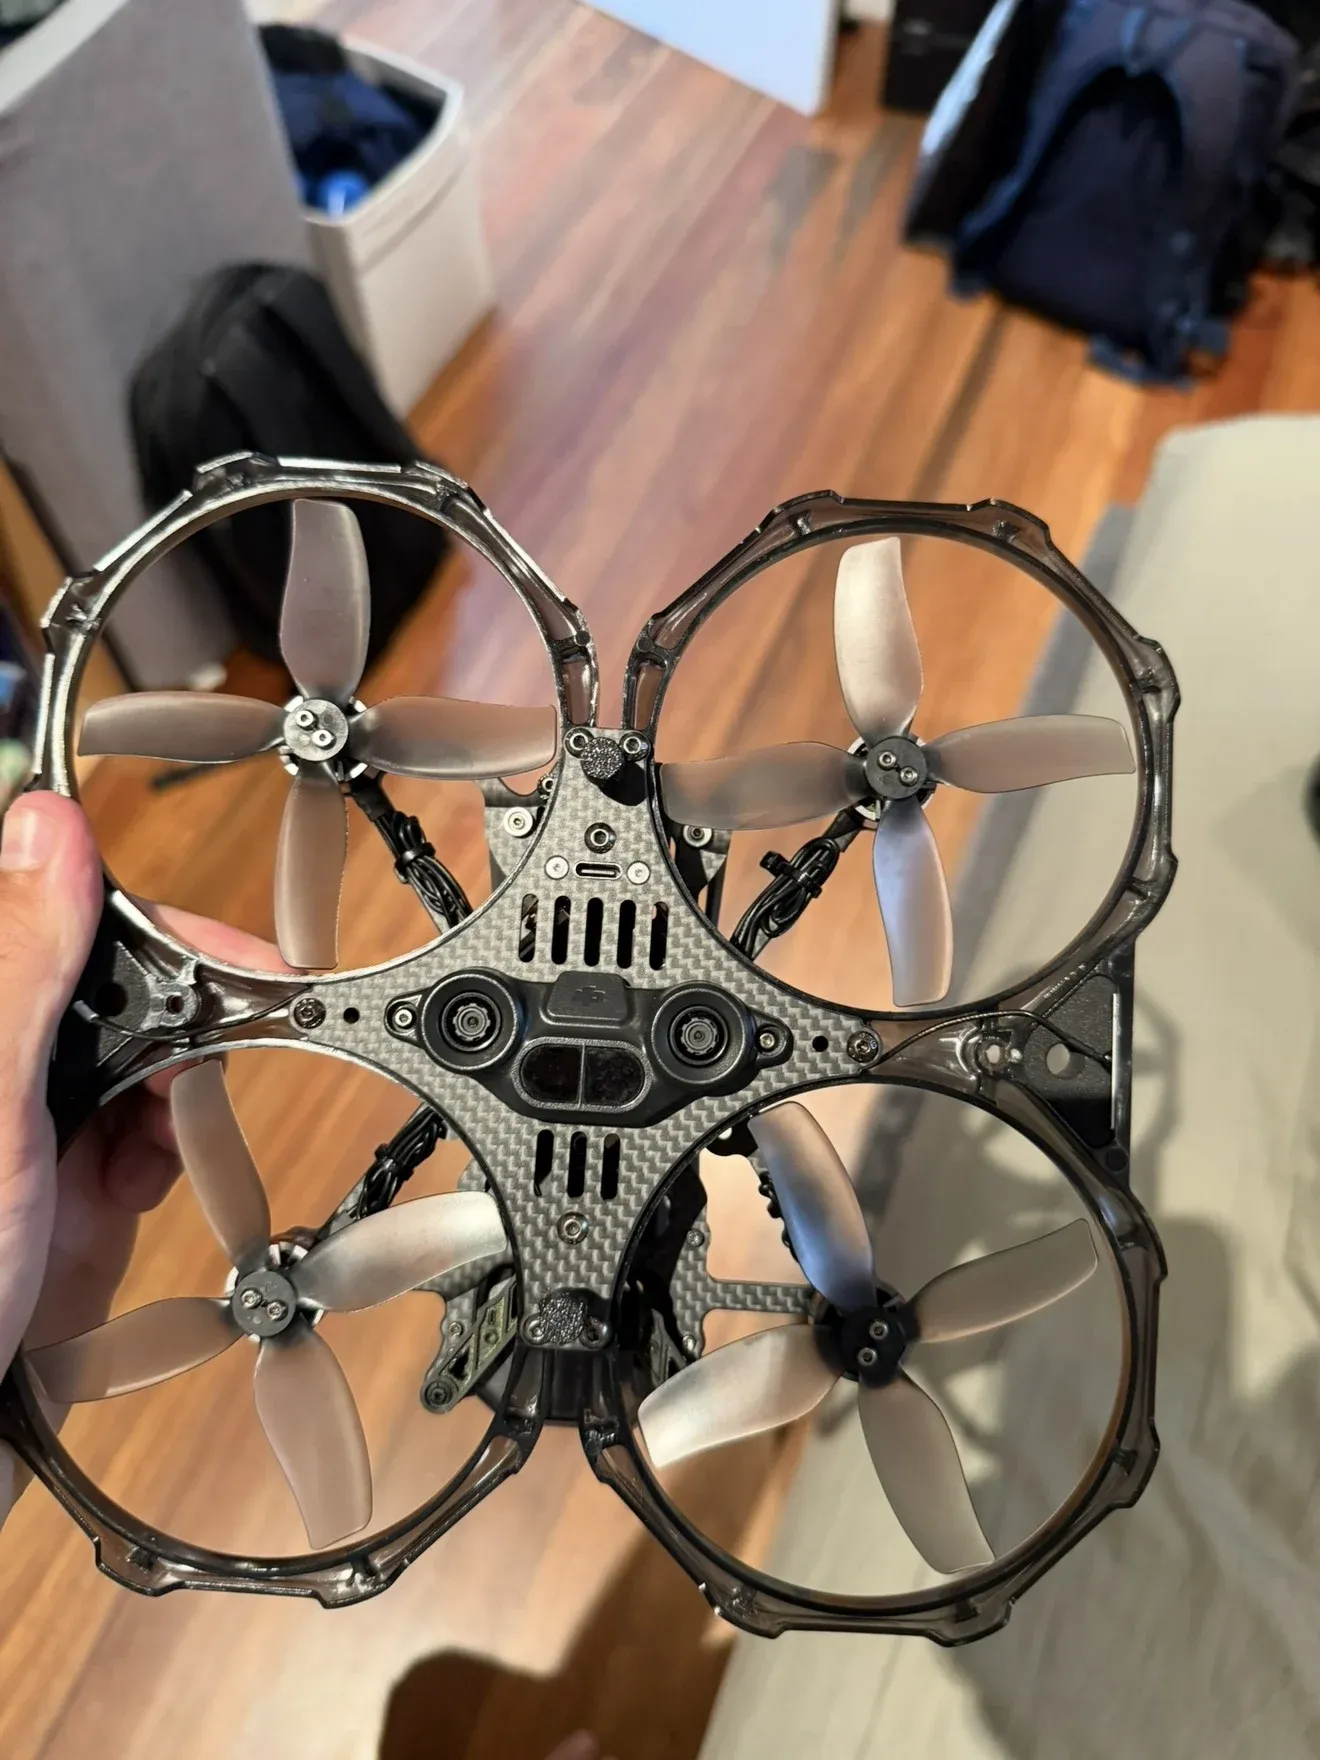
New frame and motors
Underneath you can see the new carbon fibre frame plate and the larger motors sitting inside the propeller ducts.
05
Making it competition ready
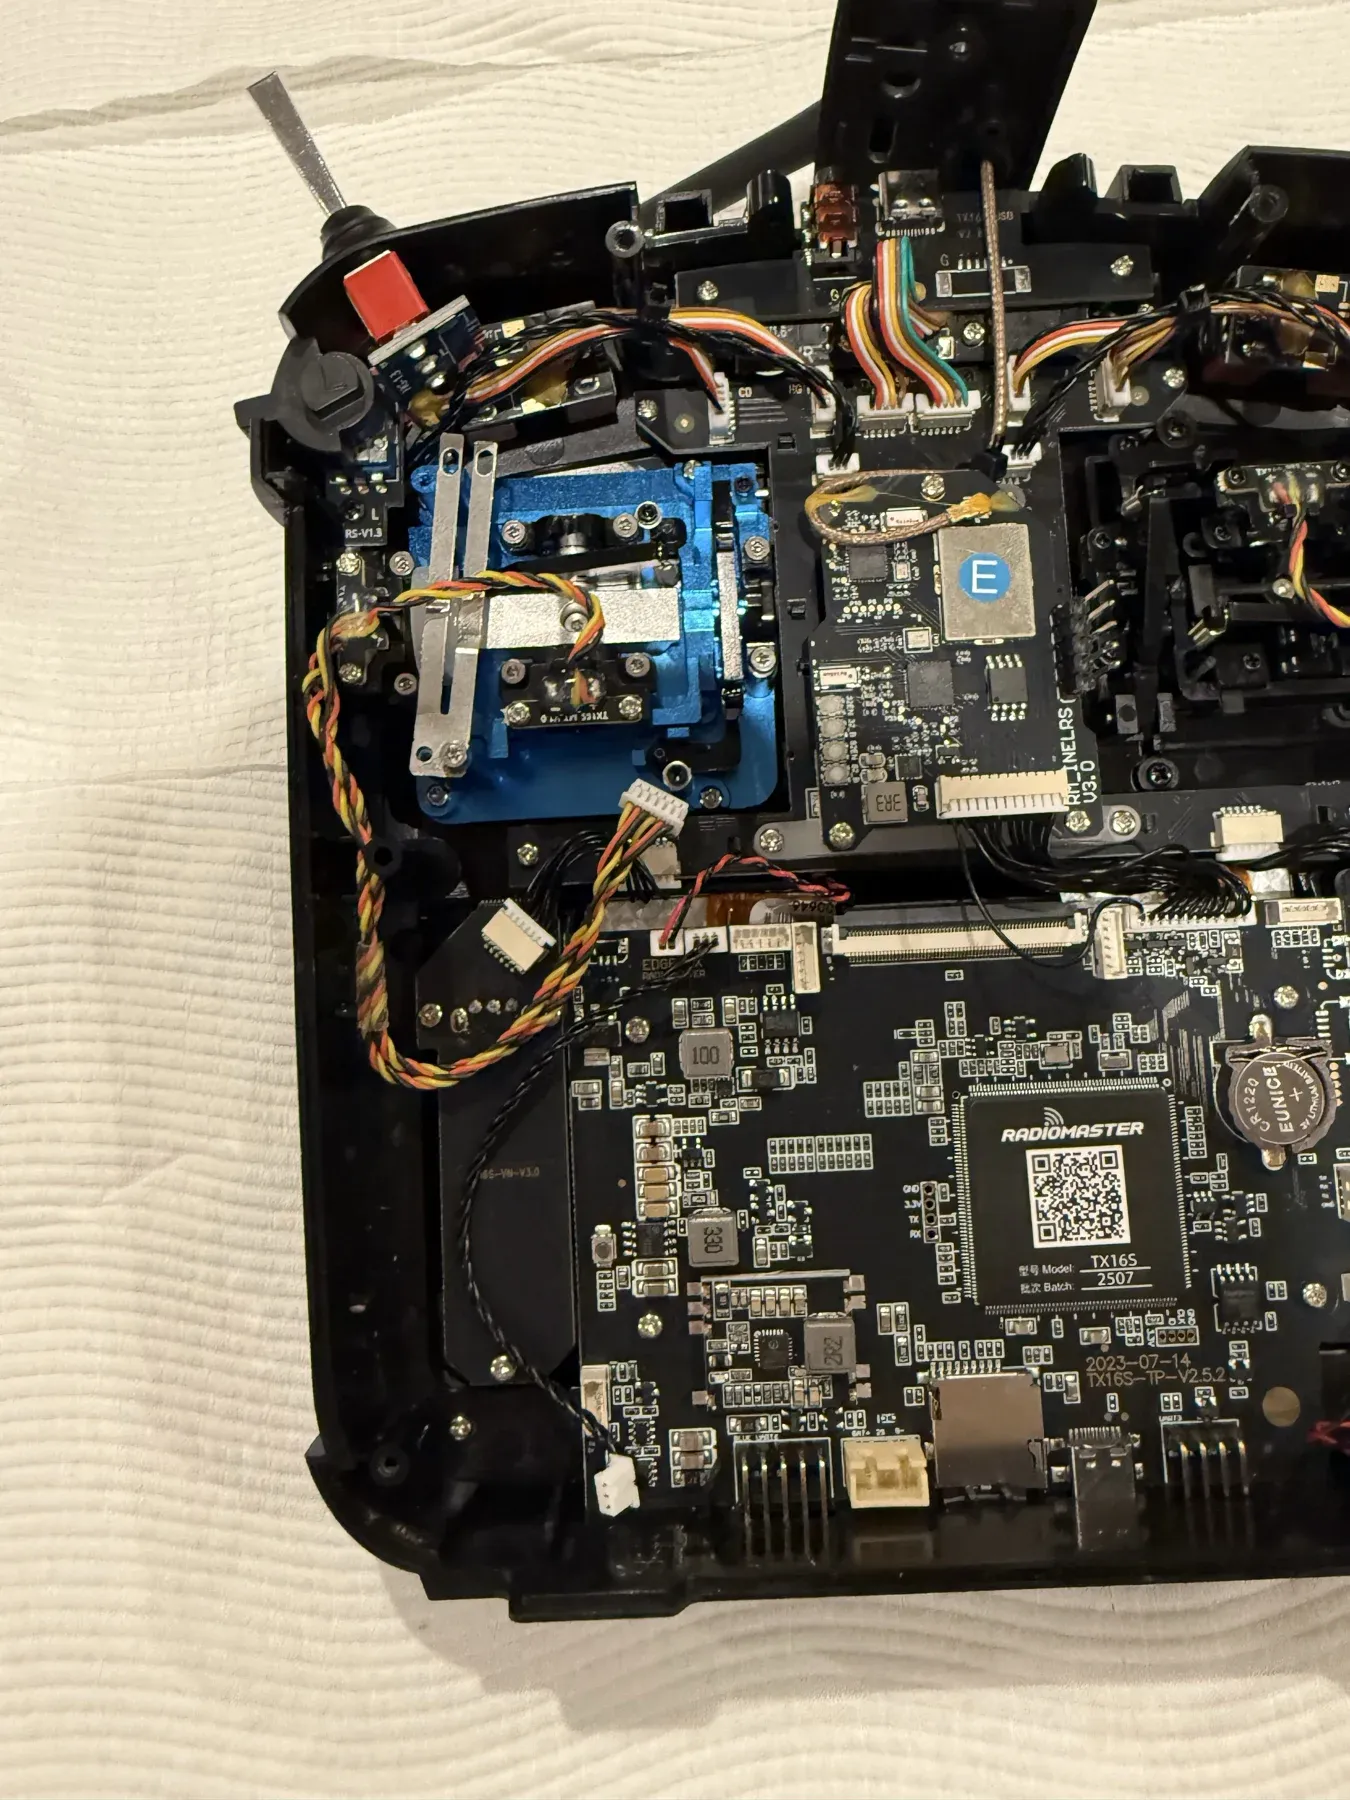
The main change was new joysticks, for smoother and more precise control than the stock ones. That meant opening the case, removing the old gimbals, wiring in the new ones, then recalibrating the sticks so every input was exact before a match.
06
My competition controller
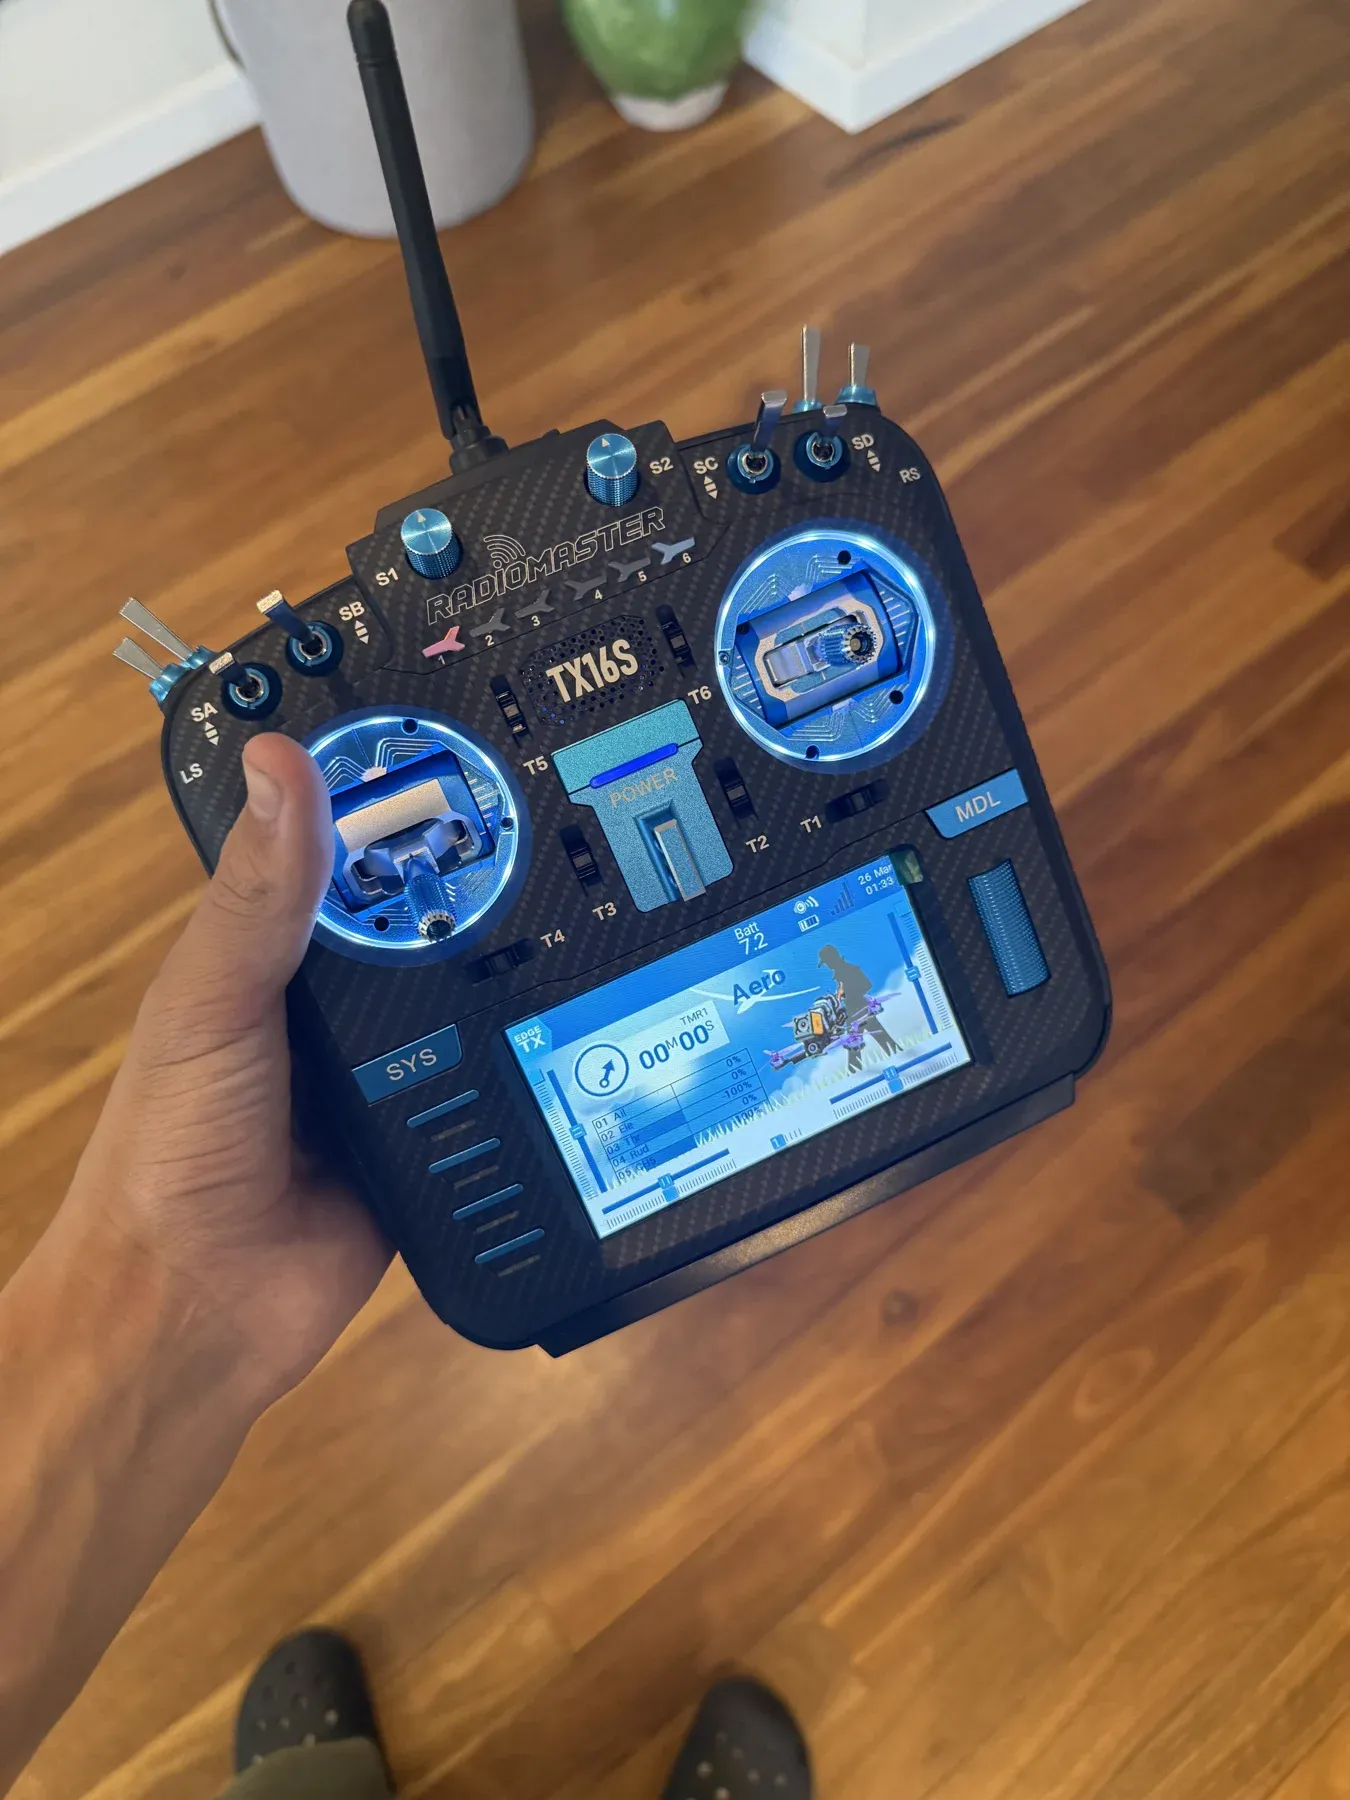
A stock radio is fine for casual flying, but drone soccer is fast and close-quarters, where small, precise stick movements decide a match. I modified my RadioMaster TX16S to be competition ready, and it's the controller I flew drone soccer with.
I flew the same controller in competition, which is on the Drone Soccer page.